 It's no secret that I've been a busy guy recently. I just celebrated my one-year anniversary at Lagunitas, I spent tens of hours studying for the Certified Cicerone Exam (which I passed!), and I'm still excitedly exploring San Francisco since my move here in April.
But this website isn't about my day-to-day, it's about my creative output. Recently that has taken the form of a variety of potent potables.
Along with my good buddy Alex, I have been working on a project we have dubbed the "Soma Beverage Lab."
Though we aren't selling the product of our labors, we are acting as a real business, complete with Twitter account, recipe documentation and custom labels. Thus far we've experimented with several different soda recipes and how to carbonate/bottle them, looked at the effects of wine aerators, and started making kombucha. Still to come? More sodas, beer, and whatever else tickles our fancies. Stay tuned.
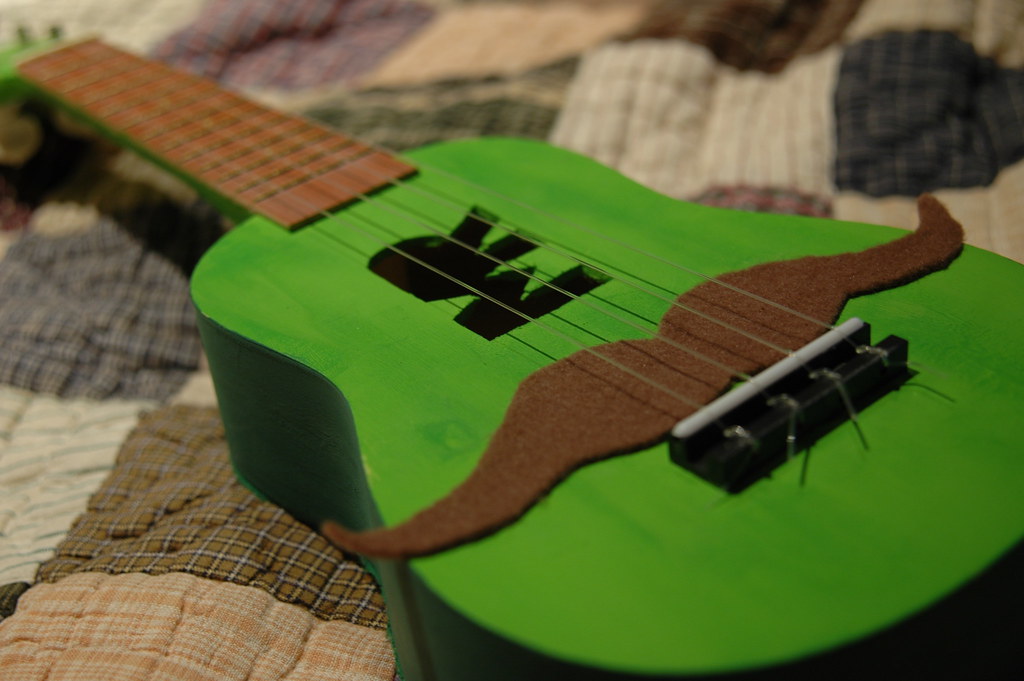
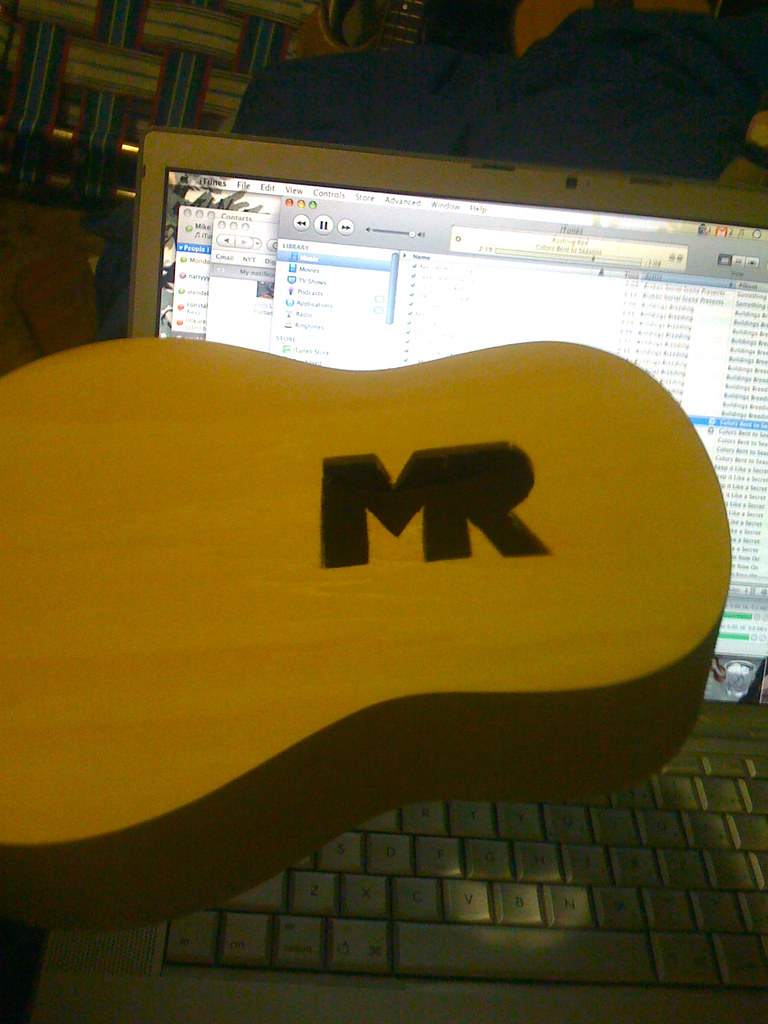
I started by covering the pre-carved, circular hole. Needs more flavor.
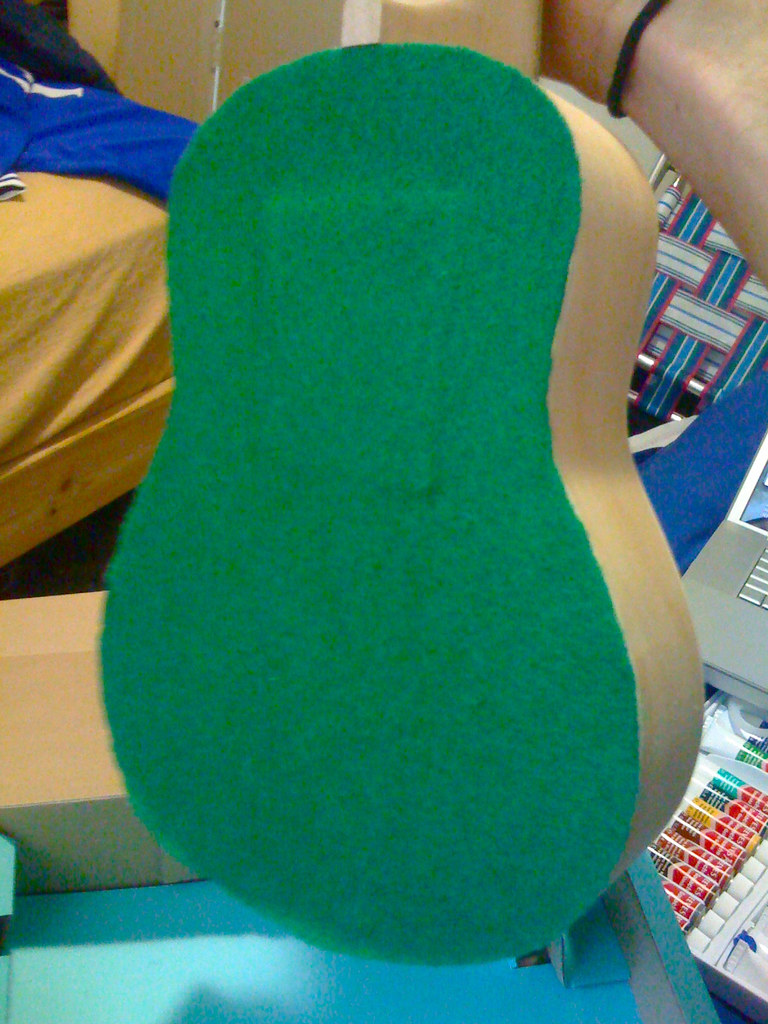
Flavor achieved. A felt back for grip and additional flavor:
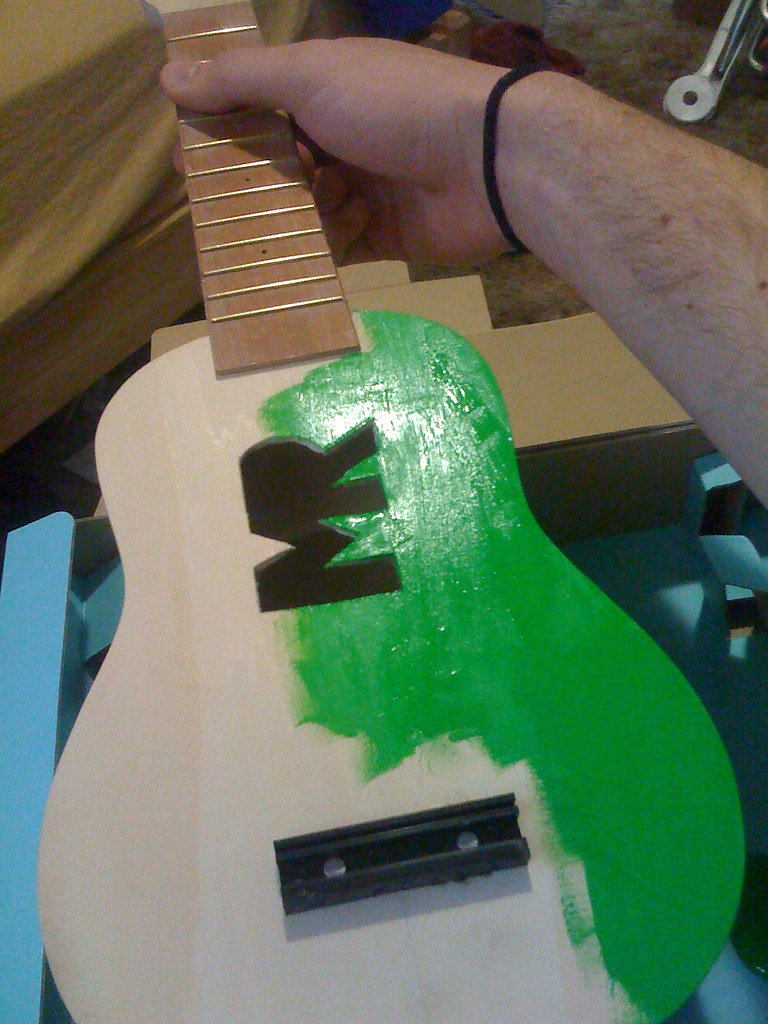
A little paint job.
And with some final accoutrements (like a mustache, obviously), we've got the finished product. I can totally rock on this thing.
July 2009

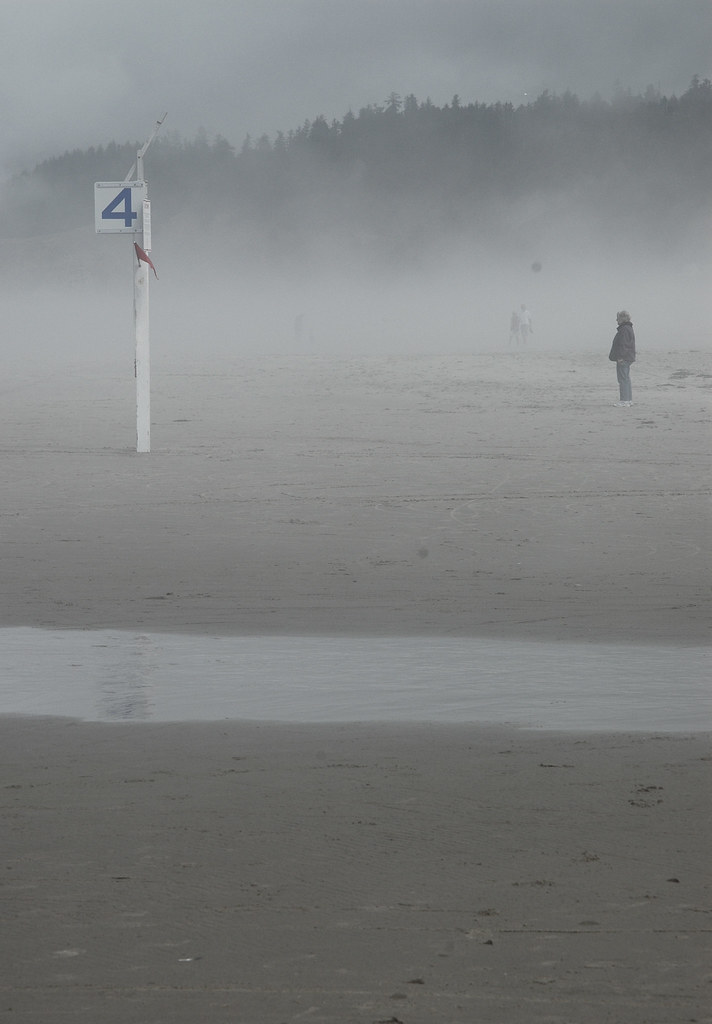
Lighthouse, Bullards Beach, Oregon
July 2009
 Highway through Grand Teton National Park
July 2009
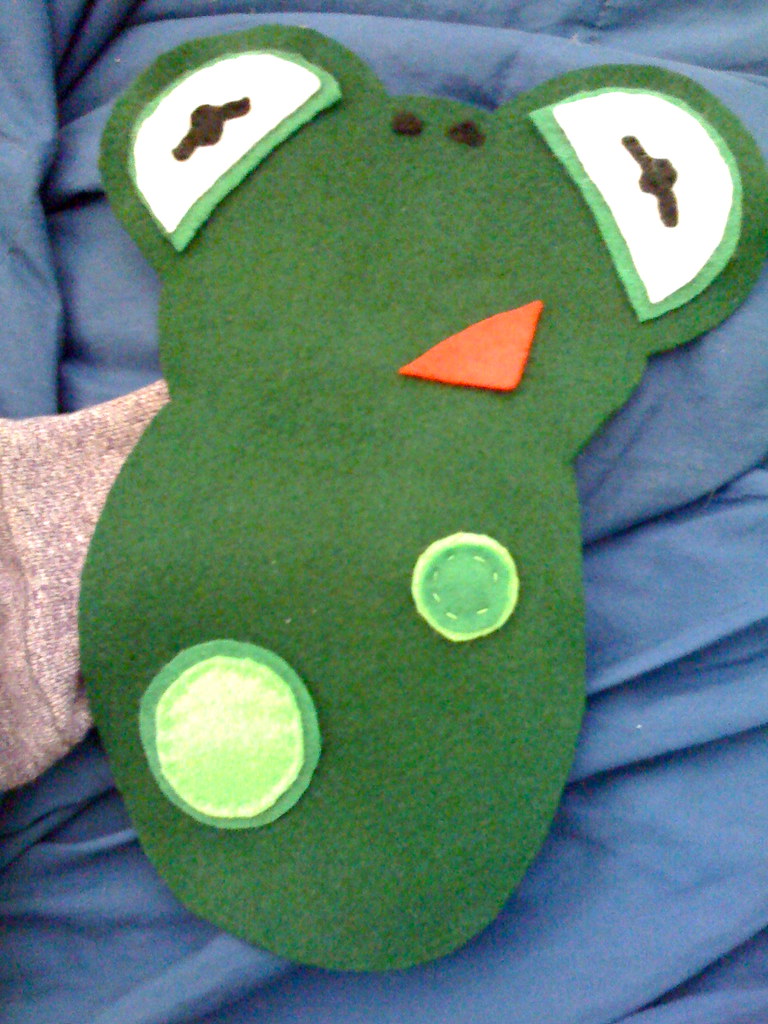
 One day, I decided to make a stuffed animal for a friend because I'm just a sweet guy like that (you wanna make something of it, punk?). Stuck deciding between her two favorite animals, frogs and monkeys, I made a decision: I would make both. One side of the stuffed animal would be a frog, with big bulging eyes and a long tongue catching a fly, and the other side would be a monkey, with a banana in her pocket and a bow tied around her tail.
Confused? Look at the image above. The frogs bulging eyes share a silhouette with the monkey's ears, and the frog's tongue matches up with the monkey's tail. The fly on the tongue corresponds to the monkey's bow. Hold the toy one way, and you've got a monkey. Flip it over and you've got a frog.
 Construction begins with a problem. How am I going to make a huge pink tongue look natural coming out of that tiny red mouth?
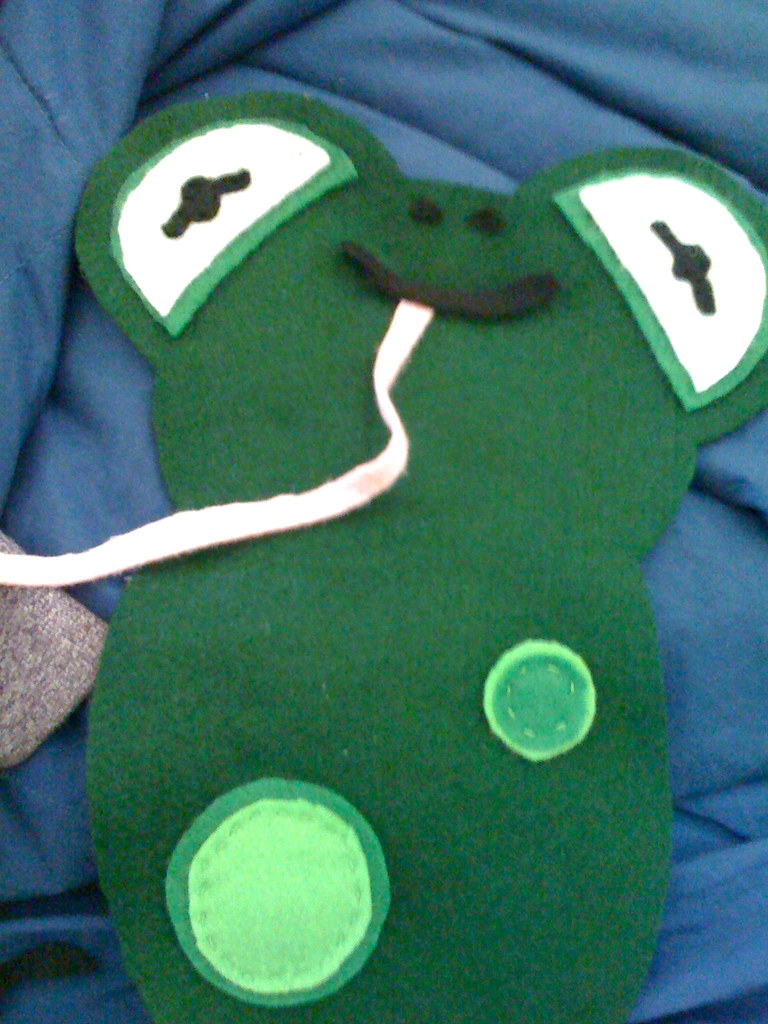 Problem solved.
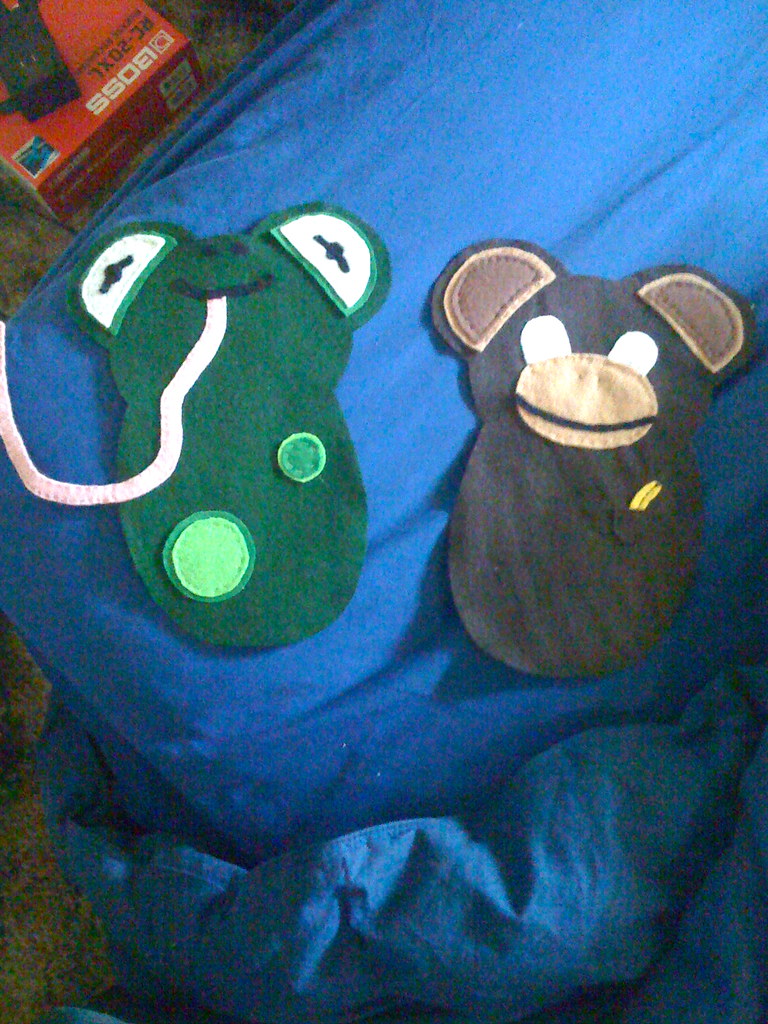 The bodies begin to take form.
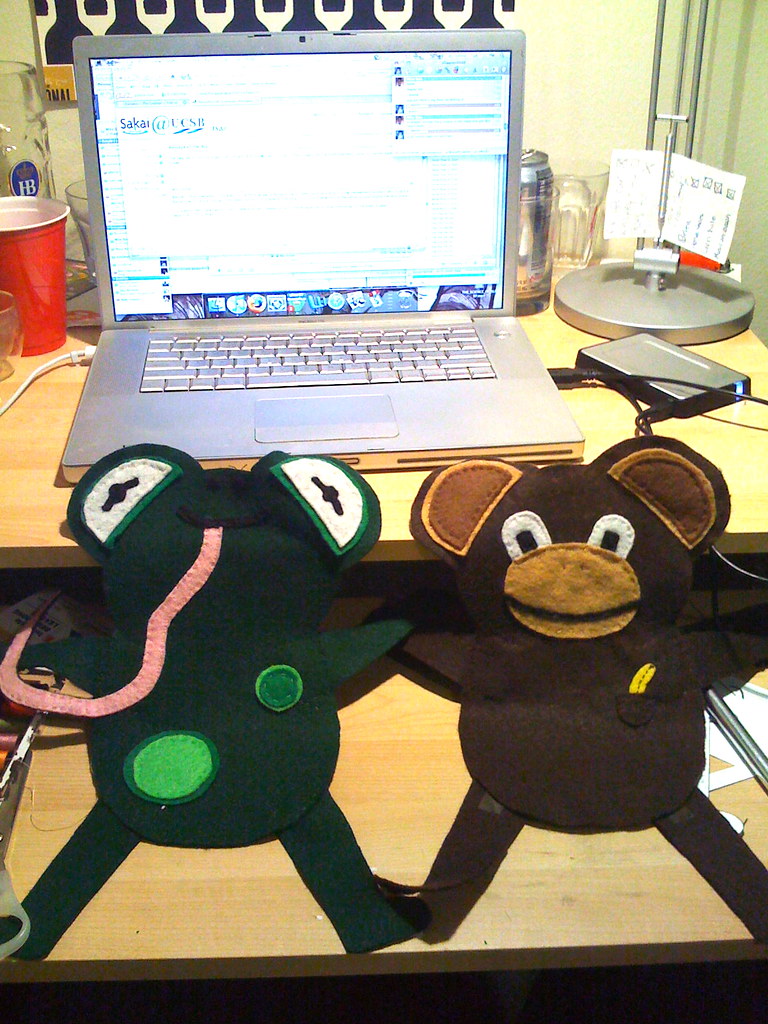 Each side finished, and ready to be joined together, filled with lentils and tissue paper, and given to an eagerly awaiting buddy of mine. The final product can be seen at the top of this post.
Materials: Felt, thread, lentils, tissue paper.
[NOTE: Apologies for the unusually poor quality of photos on this post; I had never intended on sharing them with the world, and just took 'em with my cell phone.]